I think there’s a safe generalization to be made about DIY & Indie Filmmakers, and that is, we spend a fair bit of time window gazing online at the latest filmmaking equipment. RAW this, RAW that, 4k, 6k, can it shoot underwater at night at 120 frames per second?
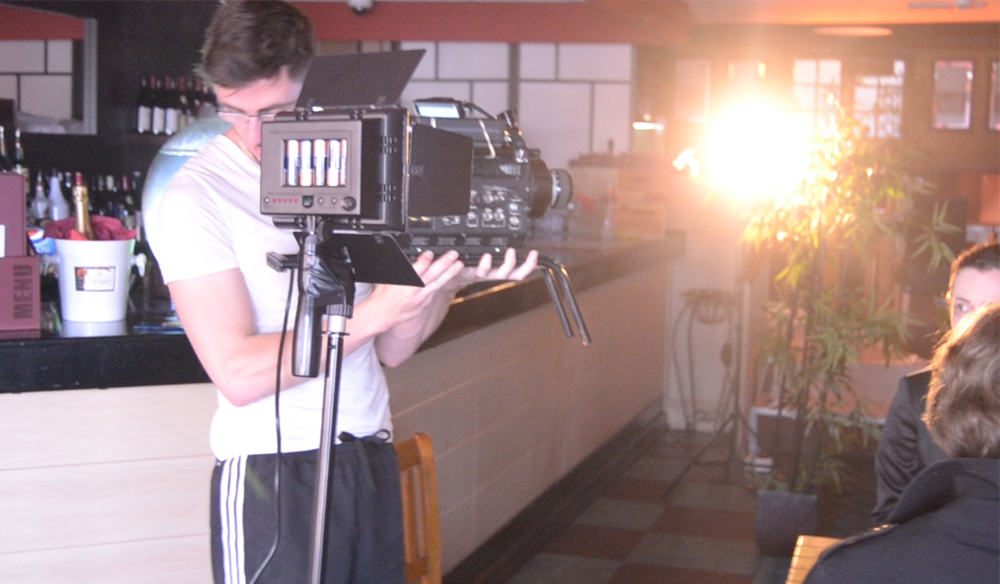
You may have spent months, even years, acquiring your equipment and resources for your short film, and yet to be then slowed down because you forgot a few clothing pegs. After completing the first block of shooting for my defunct web series Grim: A Tale of Death, there were a few essentials that we forgot to acquire, or if we did have them, we didn’t realize how essential they were going to be. In the following video, I demonstrate just how valuable these essentials are. If you’re not one for video tutorials, then you can find the written advice below the video.
Clothes Pegs
Pegs were vital for attaching color gels to our lights. In the real world of on-set practices, pegs are often called CP 47, “C47”, “47”, “peg,” “ammo,” or “bullet.” However, we ran into two problems regarding clothing pegs. The first being that the secondary lights we were using had different barn doors to our primary lights. So our pegs couldn’t fasten correctly, so we had to use our tape for blocking to attach the gels as it was the only tape we had that was heat resistant. The second reason, which is also some advice, is to buy more pegs than what you already have. There is no doubt that you will also encounter the peg thief. He comes out while you swap the gels or take a break. You put the peg down for one second and the next… it’s gone.
Fans
Mechanical fans are a must. This was something we learned at a late stage of our first block of filming. With long hot days of filming inside, electrical equipment which produced heat and lights which were hot enough to fry an egg, the rooms quickly became very muggy. Morale, along with patience, was quick to drop.
Towards the latter end of the day, we would run into the problem where the camera was working overtime to keep itself cooled. Therefore the sound of the internal fan was making a much louder noise than usual, causing our sound guy to look at me with an evil look. When we had time, we quickly popped into town and picked up a few fans. After every take, the fans were switched on keeping the cast, the crew, and the equipment cool.
A Tape Measure
As you descend down the ladder of film productions, from pro to DIY, the list of jobs and responsibilities start to merge into a single person. More often than not, on a DIY shoot, the director is also the cinematographer. The tape measure never left my pocket and often helped speed up the shoot.
Before production, I and my camera assistant worked out the correlation of the distance from the lens to the subject in regards to achieving a particular shot. Our primary lens was a 50mm, from our tests, we knew that we had to be at least 8ft away from the subject to achieve a mid-shot, or 4ft away to obtain a CU.
When it came to the day of the shoot, we had our storyboards and shot list ready to aid us, but we didn’t have to farce around with the camera getting it into the correct position. We knew that shot 1E was an ECU and needed to be placed 2ft away from the subject (at the corresponding angle to the storyboard, of course). It sped up the technical aspect of the production tremendously.
Tape
Gaffer tape, sellotape, double-sided tape, masking tape, electrical tape. There’s going to be a need and use for each and every one of these. Whether it’s marking out your actors blocking, taping down possible trip hazards, or covering up something that physically cannot be removed like a light sensor.
At one location we had already used all of our lights, we had the two 800w lights illuminating the deep space in the background, the 300w was coming in and hitting the actress as a backlight. The actress was facing the window, so her front was fully illuminated with natural daylight. However, we just needed that extra bit of fill light to provide some facial contrast. We had an LED light, but all of the light stands were being used. So with some gaffer tape, we stuck it to a mic stand.
A Blade
Throughout the entire production, my trusty Stanley blade never left my right pocket. If you’re a hands-on filmmaker, then you’re going to need it for a lot more than just tape. For one example, you may have a household light that you want to include in the scene, but the light temperature is throwing your color balance off, and you don’t have the correct bulb, but you do have the correct gel. A quick cut and size-down of the gel, and you’re good to go.
For a bonus, I will also mention that having a highlighter at hand is very helpful.